PRESS <ENTER> TO CONTINUE:
# 엔터로 계속
DO YOU ACCEPT THE TERMS OF THIS LICENSE AGREEMENT? (Y/N): y
# y + 엔터로 계속
===============================================================================
Choose Install Set
------------------

Please choose the Install Set to be installed by this installer.

  ->1- WebtoB
    2- Servlet + WebtoB

ENTER THE NUMBER FOR THE INSTALL SET, OR PRESS <ENTER> TO ACCEPT THE DEFAULT
   :
# 2 + 엔터
7> 설치폴더 입력
===============================================================================
Choose Install Folder
---------------------

Where would you like to install?

  Default Install Folder: /root/webtob

ENTER AN ABSOLUTE PATH, OR PRESS <ENTER> TO ACCEPT THE DEFAULT
      :
# /home/webtob + 엔터
8> JDK Path 입력
===============================================================================
Choose JDK Folder
-----------------

Please Choose a Folder:

Input User JDK Folder (DEFAULT: /usr):
아래 명령으로 JDK 1.6 설치
# oracle 에서 jdk 다운로드
sudo su
chmod +x jdk-6u45-linux-x64.bin
./jdk-6u45-linux-x64.bin
mkdir /home/env
mv jdk1.6.0_45 /home/env
9> 비밀번호 설정
===============================================================================
Password Input
--------------

Enter the Password for the administrator account. This password will be
registered in Servlet as the first user.

Input Password::

Corfirm Password::
10> 설치 확인
===============================================================================
Pre-Installation Summary
------------------------

Please Review the Following Before Continuing:

Product Name:
    WEBTOB4.1_SP9_Fix#1

Install Folder:
    /home/webtob

Install Set
    Servlet + WebtoB

Disk Space Information (for Installation Target):
    Required:  335,872,120 bytes
    Available: 23,808,159,744 bytes

PRESS <ENTER> TO CONTINUE:


===============================================================================
Ready To Install
----------------

Ready to install WEBTOB4.1_SP9_Fix#1 onto your system at the following
location:

   /home/webtob

PRESS <ENTER> TO INSTALL:


===============================================================================
Installing...
-------------

 [==================|==================|==================|==================]
 [------------------|------------------|------------------|------------------]


===============================================================================
Information
-----------

The administrator can set the maximum number of file descriptors as follows.
The machine needs a reboot in order for the configuration change to take
effect.

Linux 2.4 and later
-------------------
To check the current maximum number of file descriptors:
- Run "ulimit -Hn" on the command line.
This shows the hard limit.

To permanently change the maximum number of file descriptors:
- Open "/etc/security/limits.conf" with a text editor.
- Add a new line "*       hard      nofile     65536".
  65536 is the new maximum.  Change it as necessary.

PRESS <ENTER> TO CONTINUE:


===============================================================================
Install Complete
----------------

The installation of WEBTOB4.1_SP9_Fix#1 is complete, but some errors occurred
during the install.
   Please see the installation log for details.  Press "Done" to quit the
installer.

PRESS <ENTER> TO EXIT THE INSTALLER:
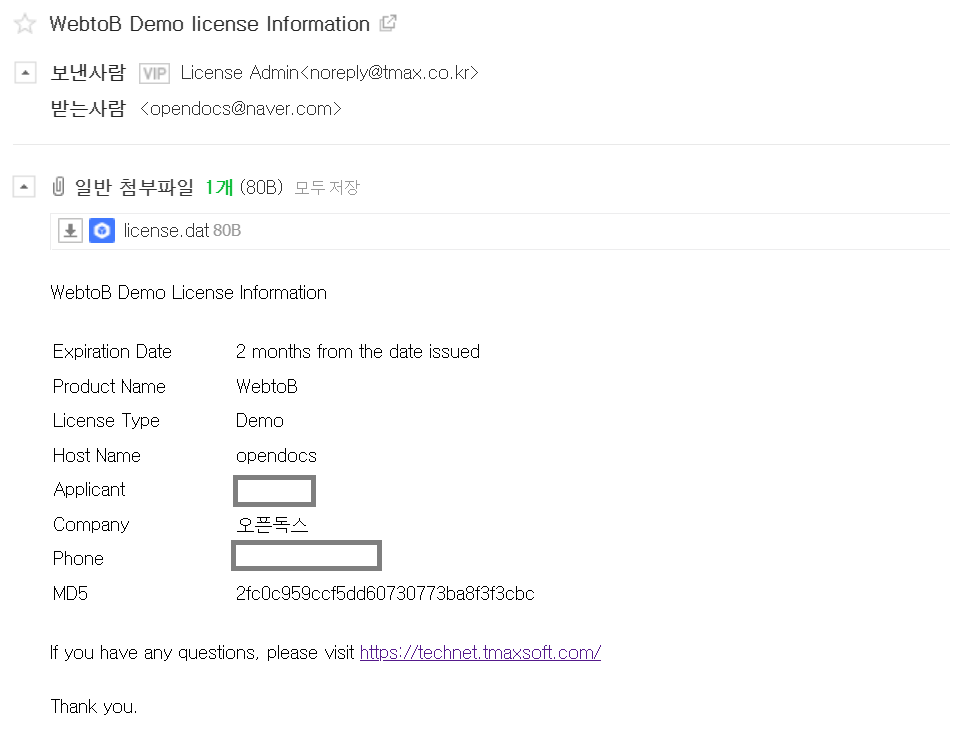
11> 라이센스 파일 복사
cp license.dat /home/webtob/license/
12> 환경변수 설정
sudo su
cd ~
vi .bashrc
# 아래내용 추가 후 저장
export WEBTOBDIR=/home/webtob
export PATH=$PATH:$WEBTOBDIR/bin
export PATH=$PATH:$WEBTOBDIR/lib
13> 환경파일 설정
vi ${WEBTOBDIR}/config/http.m
14> 환경파일 컴파일
cd ${WEBTOBDIR}/config
wscfl -i http.m
# jeus / webtob 모두 wscfl 파일이 있기 때문에 에러발생함
# 아래와 같이 실행해야함
${WEBTOBDIR}/bin/wscfl -i http.m
# 에러발생함 error while loading shared libraries: libwbiconv.so: cannot open shared object file: No such file or directory
# lib파일을 복사
cp ${WEBTOBDIR}/lib/libwbiconv.so /usr/lib/
# 다시실행
${WEBTOBDIR}/bin/wscfl -i http.m